How to Optimize Laboratory Layout? Selecting Appropriate Furniture to Enhance Efficiency
Have you ever found yourself running back and forth in the lab searching for reagents? Forced to interrupt experiments due to insufficient counter space? Or worried about safety hazards from improper chemical storage?
As researchers, we spend 80% of our time in the lab. A chaotic layout and ill-fitting furniture not only slow down experiments but can also pose safety risks. Conversely, scientific space planning + tailored furniture selection can double experimental efficiency while making operations safer and more comfortable.
Today, leveraging Lab-WB' 15 years of custom lab furniture expertise, we share a practical “Layout Optimization + Furniture Selection” solution ready for immediate implementation. Transform your lab into fertile ground for high-efficiency research.
I. Spatial Layout: Streamlining Every Step of Your Experiment
The core principle of laboratory layout isn't “filling space,” but “optimizing workflow”—minimizing unnecessary movement and preventing cross-contamination.
1. Functional Zoning: Divided by “Usage Logic,” Wasting Not a Single Square Meter
- Core Work Zone: Houses lab benches and frequently used instruments (e.g., balances, centrifuges), with ≥1.2-meter working radius to prevent crowding during multi-person collaboration;
- Preparation Zone: Adjacent to the work zone, featuring prep benches + reagent storage shelves to eliminate long trips for consumables and save travel time;
- Storage Zone: Separately houses chemical cabinets (must be ventilated and explosion-proof), sample refrigerators, and consumables cabinets. Items are tiered by “usage frequency” — high-frequency items placed at 1.2-1.6 meters for easy access, low-frequency items stored higher or lower;
- Clean/Protective Zone: Biological labs require dedicated sterile workrooms; chemical labs must have fume hood zones physically isolated from general work areas to prevent contamination.
- Common Areas: Rest and data processing zones must be distant from contamination sources. Passageways ≥90 cm wide (1.2 m for two-person parallel movement).
2. Workflow Design: Follow “Unidirectional Flow” to Eliminate Redundant Effort
- Plan unidirectionally from “Sample Receipt → Preparation → Experiment → Detection → Storage → Waste Disposal” to avoid crossovers and backtracking;
- Place high-frequency instruments (e.g., centrifuges) centrally in the work area; position low-frequency large equipment (e.g., gas chromatographs) near corners, reserving ≥80 cm maintenance access.
- Pre-route utilities (water/electricity/pipes) to align with bench and instrument placements; never allow pipes to span pathways (both hazardous and obstructive).
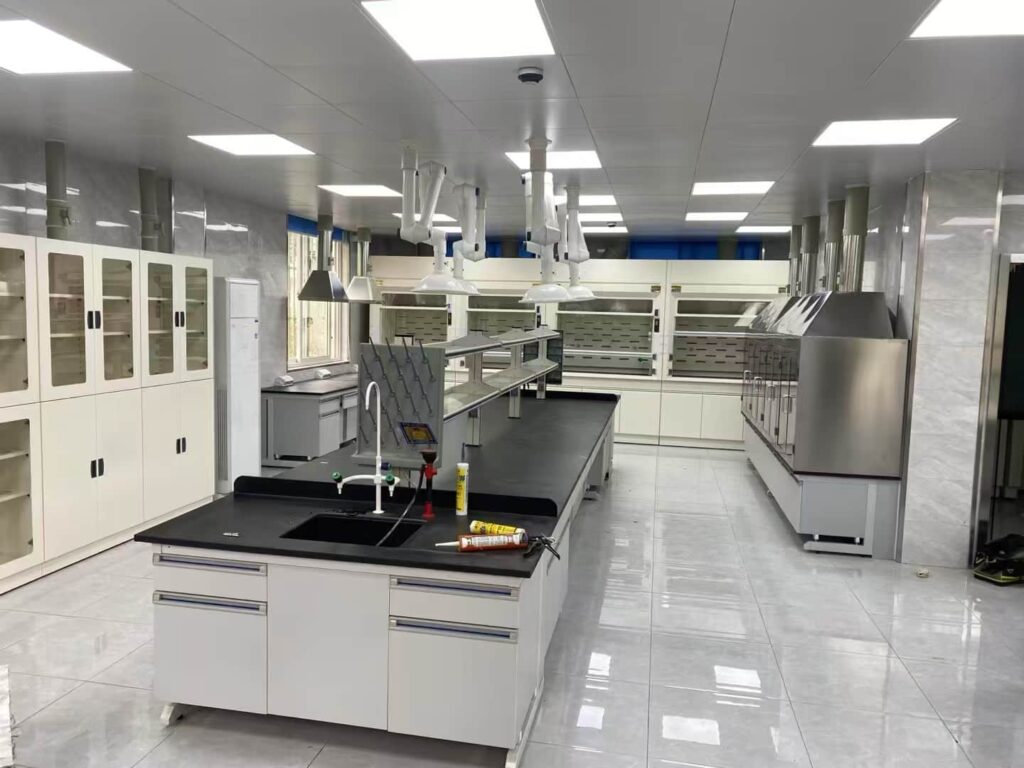
II. Furniture Selection: Get it right, and lab efficiency doubles instantly
1. Laboratory Benches: Core Furniture—Select the Right Material + Structure
- How to choose materials? (Match based on lab type)
- Chemistry Labs: Prioritize epoxy resin (resists strong acids/bases, unaffected by reagents);
- Biology labs: Stainless steel countertops (easy to sterilize, no volatile contamination);
- Physics labs: Solid chemical-resistant panels (wear-resistant, impact-resistant, stable under heavy equipment);
- How to choose the structure?
- Countertop height: 85-90 cm, ideally with adjustable legs (±5 cm) to accommodate users 1.6m to 1.8m tall;
- Reserve ≥70 cm legroom under countertops; add drawer storage to prevent supplies from piling on the floor;
- Load capacity ≥500 kg/m² to safely support large instruments without collapse (LabWorkBenchs benches pass load testing, supporting up to 700 kg/m²—ideal for heavy equipment like mass spectrometers).
2. Storage Furniture: Safety First, Clear Categorization
- Chemical Cabinets: Must be explosion-proof + ventilated, equipped with ≥10L leak-proof trays (to prevent reagent spills), separate cabinets for acids and alkalis, and anti-static interior surfaces;
- Sample Cabinets: Refrigerated units require independent power supply (to prevent sample damage during outages). Ambient-temperature cabinets should feature tiered compartments with clear labeling and reserved interfaces for temperature/humidity monitoring.
- Supplies Cabinets: Modular shelves (height-adjustable) with cushioned hinges on cabinet doors (to minimize dust from collisions).
3. Auxiliary Furniture: Details Define Comfort
- Seating: Choose height-adjustable (45-55 cm) anti-static chairs with lumbar support. PU material resists stains and wipes clean. Casters must have brakes (no sliding when seated).
- Ventilation & Protection: Maintain ≤1.5m distance between fume hood and lab bench (for quick reagent access). Round furniture edges (≥2cm radius) to prevent cuts.
- Power: Install splash-proof outlets (with overload protection) inside benches—at least 2 per meter of countertop. Position away from liquid spill zones (to prevent short circuits).
III. Safety + Practicality: These 3 Details Are Non-Negotiable
IV. Customized Solutions: Accommodating Irregular Spaces / Special Requirements
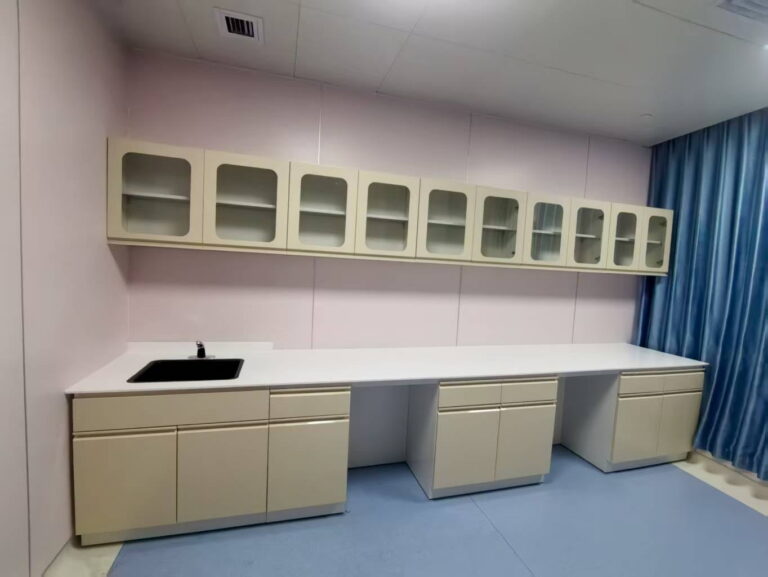
- Double Space Utilization: For irregular spaces like corners or narrow corridors, custom L-shaped/linear benches maximize vertical storage with overhead cabinets and shelving—not a single square meter goes unused.
- Precision Functionality: e.g., chemical labs can integrate “bench + fume hood + waste collection” units; biology labs can feature sterile storage cabinets with built-in UV sterilization;
- Specialized Adaptability: clean labs use non-volatile furniture; cold labs incorporate anti-condensation designs; mobile labs include foldable workstations.


Comments
Post a Comment